
5 Great Creative Reverb Techniques
Who doesn’t love a good reverb? Used well it has the transformative power to take your tracks to the next level adding an immersive sense of space and character. While it’s easy to just drag your go-to reverb onto a channel, set the delay time, and be done with it, we will be going a little deeper in this post. We’ve come up with 5 creative reverb techniques you can apply to your productions. These methods go beyond the basics, offering ways to manipulate reverb to enhance the sonics, add character, and craft unique textures in your music.
Whether you’re a beginner or an experienced producer, understanding these creative reverb techniques can open up new possibilities for sculpting sounds and elevating your productions.
1: Reverb Stacking
While applying one reverb to a track or auxiliary channel is generally sufficient why not experiment with multiple instances? Reverb types such as Plates, Chambers, Halls, and Springs all come with their own distinct characteristics. By mixing and matching different reverbs on the same track you can create unique and rich-sounding reverbs. You could experiment with the EQ and filtering on different reverbs so each reverb type sits in its own frequency range. By introducing and stacking multiple reverbs you also have the ability to effectively widen the stereo field. And if your CPU starts to grumble due to the amount of reverbs being used why not bounce down a 100% wet recording of the reverb?
2: Experiment with Sidechaining
Sidechaining refers to a process whereby a signal is fed to a plugin and in turn affects the plugin’s parameters in real-time. Sidechaining is most commonly used with compressors and limiters. In order to use sidechaining on a reverb you must first set your reverb up so that it’s on a separate channel. To do this you have a couple of options. Firstly you could record or ‘resample’ the 100% wet reverb signal in as audio. Alternatively, you could put your reverb on an aux or bus channel. Then send the signal to it via your DAWs auxiliary/bus routing. (refer to your DAW’s manual for details on how to send and route audio)
Once you have your reverb active on a separate track insert a sidechain-enabled compressor or limiter after it in the signal chain. Select the signal(s) that you want to send to the reverb and apply them to the sidechain input. Now the compression will only be applied when a signal is fed to it via the sidechaining. Now whenever a signal is sent to the reverb the reverb volume is squashed according to your threshold settings. This technique has multiple applications. It is a great technique to add clarity to vocals as it prevents reverb muddying. It can also be used creatively by feeding a rhythmic signal to the sidechained reverb.
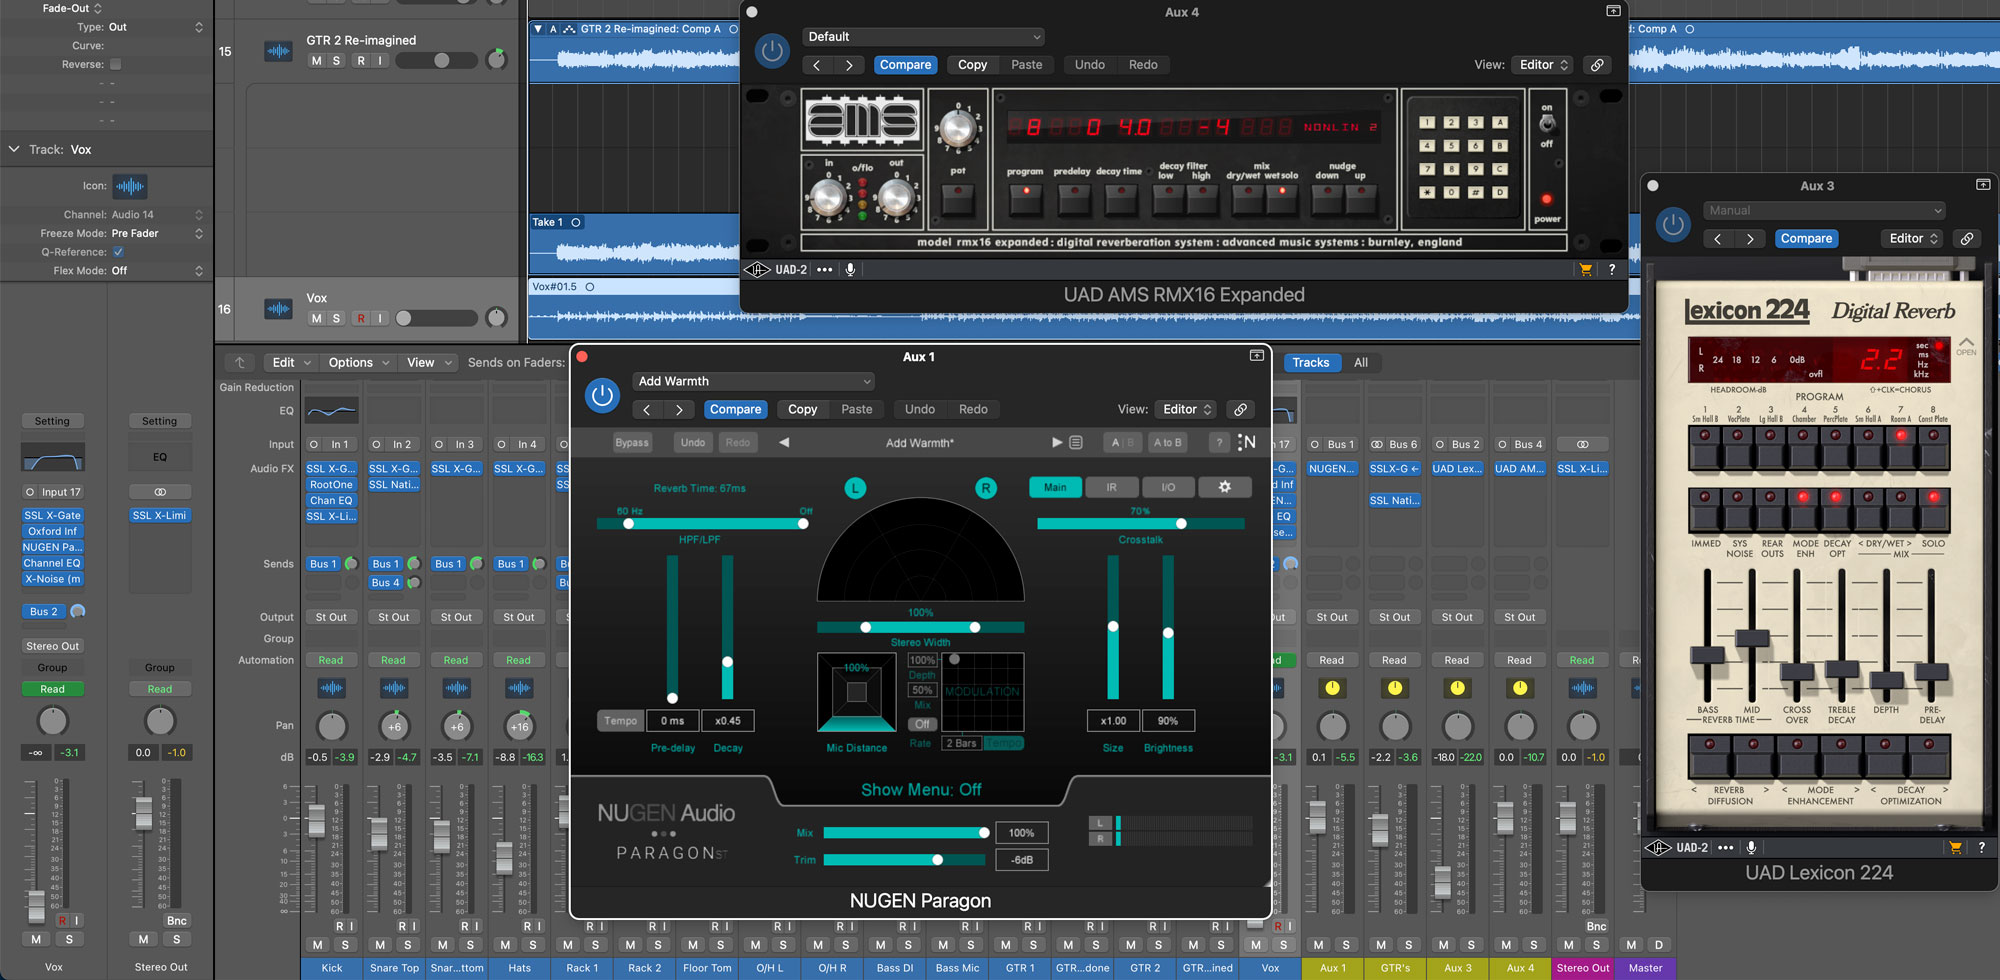
3: Adding Additional Processing to a Reverb
While most reverbs offer a variety of processing options such as EQ, Dampening, Diffusion etc, why not add some of your own processing? As with sidechaining reverb, in order to add your own plugin processing you must set the reverb up on a separate channel. You’re then free to experiment by adding different processing and effects. For example if you want to achieve a vintage retro sound why not experiment by adding some tape saturation to the reverb tail? Or how about applying a bit of phasing or flanging for some outer dimensional spaciness? Interesting vocal textures can be achieved by adding and even automating FX to the verb. Why not dial in a bit of Leslie speaker cabinet or Amp Distortion? Basically, just have fun with it and treat the FX signal with as much creative flair as you would an audio track.
4: Create a Real Room Scenario with a Combination of Reverb Settings
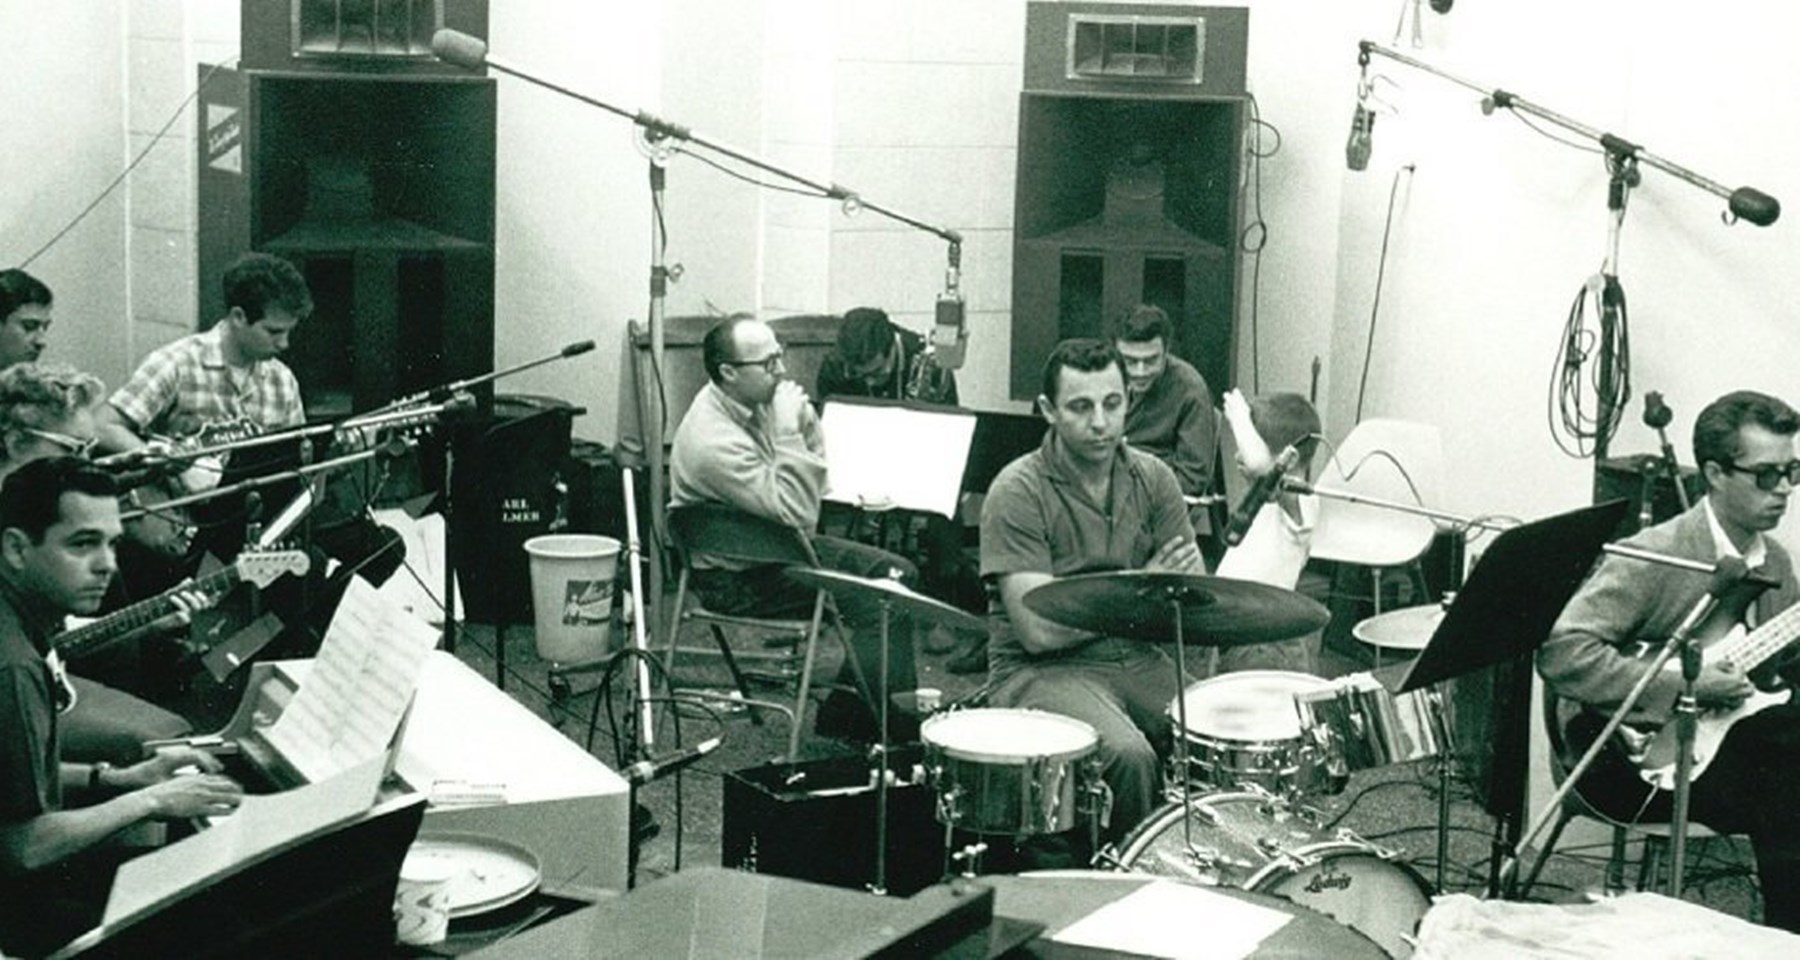
If you imagine a traditional live recording scenario where a band is playing together in the same space it’s unlikely that one reverb instance will apply to all the instruments. To create a truly convincing sound when representing a live group or orchestra it can be useful to set up multiple instances of reverb. A recording space will have its own distinct reverberation characteristics. The placement and proximity however of individual mics, as well as any isolation factors will all influence how reverb acts upon the separate instruments. This technique aims to try and capture the various individual instances of reverb.
This reverb technique is best done using a separate aux or bus channel for each reverb instance. First, decide on the most appropriate reverb type. Chambers and halls make good choices. Then add the same reverb plugin to each aux/bus channel. 3 to 5 reverb instances should suffice. You should now apply different parameter settings to each reverb. For instance make adjustments to reverb length, pre-delay, EQ and panning. Try to spread the panning settings equally amongst the reverbs. Now try sending different instruments to the different reverb aux/bus channels. Remember to match equivalent panning settings so you don’t send an instrument that is panned to the right to a left-panned verb. Employing thoughtful creative reverb techniques such as this should result in a more open and realistic effect.
5: Adding Reverb as a Drum Layer
One of the most common applications of reverb is on drums. In particular, the snare drum. Music producers often fixate on finding the perfect snare reverb. This is particularly the case in sample-based production like Hip Hop, DnB, Lo-Fi, Trip Hop etc. While a well-considered reverb plugin can sound great there is another option.
If you come across a really great reverb tail you can sample it and apply it as a drum layer. It can then be triggered or programmed by the snare or drum of your choice. This effect can be heard to great effect in the seminal Portishead track Strangers (see below). When adding a reverb layer It may be necessary to add a slow attack envelope to avoid any clashes to the initial transient. You may also want to experiment by adjusting the pitch of the sampled reverb tail. Just trust your ears when trying to find that sweet spot that accentuates the snare, turning it into a thing of beauty. If you successfully add the right reverb sample it can transform your drums in ways not possible through software alone.
Conclusion
Hopefully, this post has inspired you to experiment with reverbs and not just settle for the easy option of just dragging in your favourite verb. Used well reverb has the power to drastically add character and realism to your production. Try putting some of these creative reverb techniques into your productions and see what happens. Good luck!
Remember – RouteNote Create subscriptions start from as little as $2.99. You also get 10 FREE credits to spend on samples along with access to our FREE sample pack bundle when you sign-up!