How to Create the Perfect DAW Session Template
When it comes to music production the speed in which you can commit your creative ideas to musical realities is fundamental. Nothing can kill creativity like setting up recording chains or working out how to send multiple outputs from your VST. This is where a well-considered DAW session template tailored to your specific needs and workflow can really help.
What is a DAW Session Template and why are they so important?
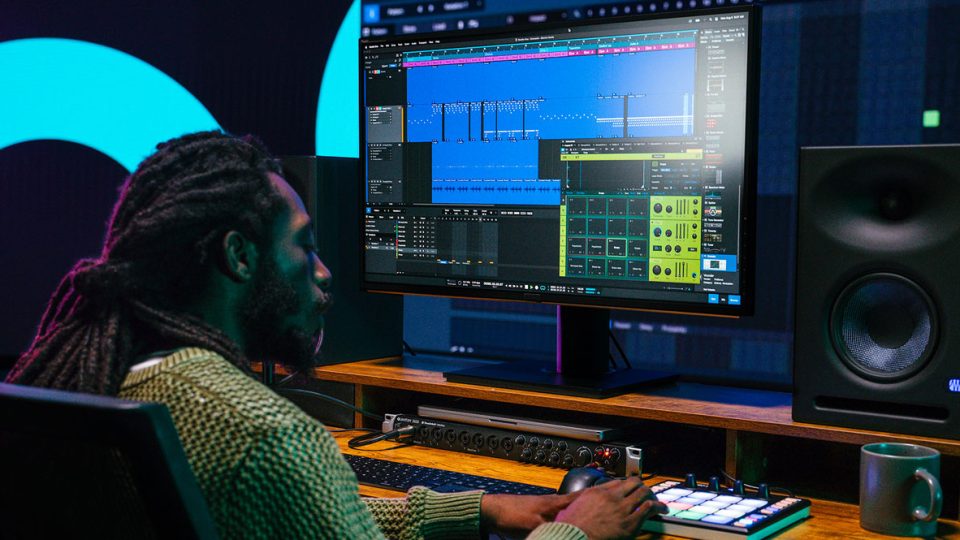
A session template refers to the layout and configuration of your session screen when you first open up your Digital Audio Workstation (DAW). A DAW Session template serves as your starting point for new projects. It’s a blueprint containing track layouts, default settings, routing configurations, plugins, and often pre-loaded elements like MIDI clips or audio loops.
Workflow is key to successful music production so being able to jump into each new session with a tailor-made session template is invaluable. Everything should be set up and laid out just as you like it. You will often boot up your DAW with an idea already formulating in your head. The last thing you want to happen is that the idea gets lost due to initial faffing while you set up your session. The same is true when working on a project. Having all your favourite instruments and devices routed to all the right places helps you instantly convert your musical ideas into reality.
Consider the way you work.

The first thing to say is there is no one-size-fits-all solution when it comes to creating the perfect DAW session Template. Everyone will have their own ways of working as well as production needs. requirements and recording set-up. So before you even start loading up any tracks sit down and consider how you work within a Digital Audio Workstation (DAW)
The main things you will want to consider are:
- Will I be recording external audio i.e Vocals or acoustic instruments?
- How many tracks do I generally use?
- What are my workhorse instruments or samplers?
- What sort of FX do I generally use?
- What monitoring setup do I want to use
- Do I have any hardware i.e midi controllers/synths/outboard that I need to integrate?
- Do I need to integrate my template with another producer i.e production partner?
- Visually what do I find most stimulating
So once you’ve figured out your main production-based requirements it’s time to put it all into practice. Here are a number of ideas and tips to help you prepare the perfect bespoke Template.
Organize Track Layout:
Start with a well-organized track layout. Group similar tracks (drums, vocals, instruments) together for easy navigation. Utilize color-coding to distinguish different track types or sections visually. When you save your template make sure all of the tracks are minimised and the same size. Then when you go to use that channel you can enlarge it and easily see what tracks are being used.
Track Routing and Bussing:
Establish default routing and bussing. Route tracks to appropriate buses for grouping or parallel processing. Create bus channels for drums, vocals, and other groups to apply global effects or processing. Also, create auxiliary FX channels. At the very least you should consider having separate reverb and delay channels. You can then use the auxiliary send function to route the signal to the Reverb and Delay. This negates the need to add processor-hungry reverb and delay to individual tracks.
Default Plugins and Signal Chains:
Set up default plugins and signal chains for each track type. Establish your favourite workhorse plugins and select them on the appropriate channels. For example, this is particularly effective when setting up channels that have grouped tracks bussed to them. Pre-Load EQs, compressors, fx etc with basic settings that suit the typical characteristics that track type requires. This saves time in the initial setup and helps maintain consistency. If your DAW offers the facility create a favorites folder containing all your most used plugins and VSTs.

Set up Multi-Mode on Favorite Instruments
If you have a favourite Synth or Sampler (for example Native Instruments Kontakt) that often gets used for multiple instances then you may want to set it up in multi-mode. This means that you use just one instance of the sampler or synth but have various pre-configured tracks routed through it. This can greatly help with CPU usage.
Naming Conventions:
Use consistent and descriptive track names, ensuring clarity and ease of identification. Add prefixes or suffixes to indicate track type, such as “DR – Kick” for the kick drum or “Vox – Lead” for lead vocals. Where it is applicable pre label tracks for added clarity.
Create a Basic Drum/Rhythm Guide Track
To many, myself included there’s no bigger initial vibe killer than the plinky plonky tones of an internal metronome. But it doesn’t have to be that way. Why not program a basic 4/4 drum pattern instead and save it as part of your template? This can be especially useful if you are the sort of person who prefers to start the music-making process with melodic ideas rather than the drums.
Save MIDI and Audio Clips:
Include a folder with pre-saved MIDI clips or audio loops commonly used in your productions. This expedites the creative process by having go-to resources readily available. The clips may contain useful rhythmic patterns or textures. For instance, if you work in the field of lofi having a selection of textures such as vinyl static, tape hiss or ambience to hand can be very useful.
Custom Drum Sample Banks
If you work in a particularly ‘beat’ orientated field then consider creating individual channels representing different drum elements. Think- Kick, Hat, Snare and perc channels. For each drum channel select a broad variety of your favorite one-shot samples. You can either program or drag MIDI onto these channels and quickly audition a wide selection of drum hits. This method can greatly speed up drum programming and layering.
Customized Shortcuts and Macros:
Customize keyboard shortcuts and macros for frequently used functions. This accelerates editing, mixing, and arrangement tasks, optimizing your workflow. If you are working with a midi controller or synth make sure your settings are optimised for fluent communication.
Pre-configured Master Channel:
Set up a default master channel with your preferred limiter, EQ, or other mastering plugins. While it is good to have these plugins in place I would recommend that you have them bypassed for the DAW session template.
Flexibility for Change:
Keep your template flexible. As your workflow evolves or when you work on different genres, ensure the template can adapt. Don’t be afraid to update or modify it regularly. Remove redundant elements, update plugins, or adjust settings based on changes in your workflow or technological advancements in your DAW.
Summary
The value of a well-thought-out session Template for your DAW cannot be underestimated. Creating a session template tailored to your specific needs not only saves time but also fosters a consistent creative environment. It allows you to focus more on the music and less on repetitive setup tasks, ultimately enhancing the quality and efficiency of your productions.
So if you find yourself constantly reaching for the same trusty tools or setting up the same old signal paths, implementing or updating an effective template will certainly be time well spent. And it needn’t stop with the perfect session start-up template. Why not craft a bespoke mixing Template that you can drag your stems onto? But that’s another blog for another day!
Remember – RouteNote Create subscriptions start from as little as $2.99. You also get 10 FREE credits to spend on samples along with access to our FREE sample pack bundle when you sign-up!