How to create a vintage sound inside a DAW
Are you a music producer looking to add a touch of nostalgia to your tracks? Making your music productions sound vintage can create a unique and timeless vibe. With all the incredible tools available to producers today, is it possible to capture the sound of yesteryear from within the confines of a humble DAW? Whether you’re producing classic rock, lo-fi hip-hop, dirty disco or even modern pop with a retro twist, there are several techniques you can use to achieve that vintage sound. In this post, we’ll help you turn your DAW into a musical time machine and explore the key steps you can take.
Study your era
The first thing you should do when going for a retro sound is to establish the era you’re aiming for. This will help to determine the sound you’ll want to capture. Remember that the era you’re targeting can vary greatly depending on the music genre. For instance, if you aim to recreate the sound of a 1968 New Orleans Funk record, it will differ significantly from the sound of a Beatles track produced by George Martin in the same year.
To gain a deep understanding of your chosen era, it’s valuable to gather a selection of key songs within the same genre that you wish to emulate. Once you’ve collected these examples, study the instrumentation used, the unique compositional style, and the distinctive sonic characteristics. Ideally, you should have a clear grasp of these elements before you commence your music production, as they will significantly influence your creative process.
Instrument choice
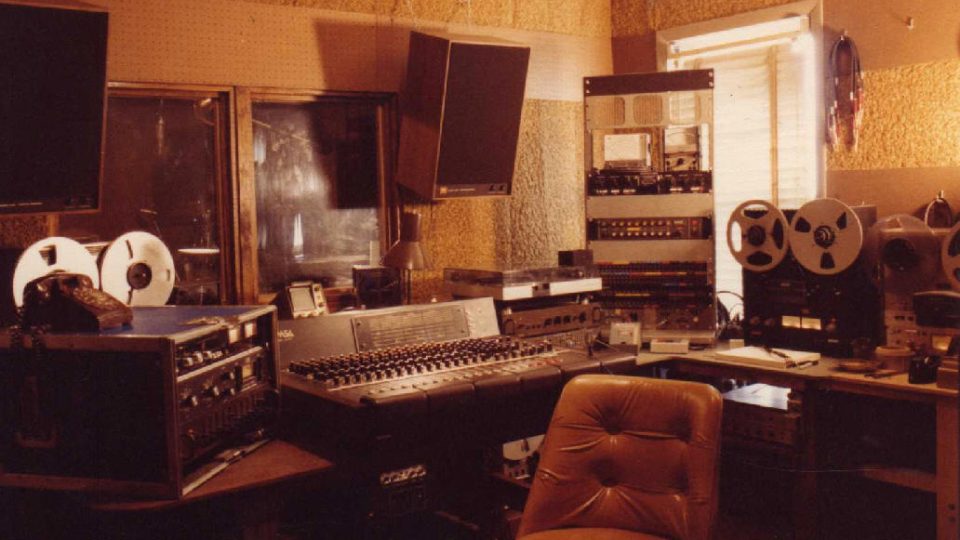
We touched briefly on this in the previous section but instrumentation really is key (excuse the pun). It’s no good using a Yamaha DX7 synth sound if you’re going for an early 70s prog-rock feel. If you’re using real (non-virtual) instruments then spend some time researching the kind of microphone/amplification techniques used for your given era. YouTube is an amazing resource for obtaining vintage recording techniques. Before the advent of digital recording in the early 90’s all recording was done to tape using reel to reels. So, if possible experiment by recording directly to tape. You can then track your tape recordings into your DAW.
If you’re working fully inside the box then it’s worth researching and obtaining the most well-modeled instruments. Pay particular care when selecting acoustic instruments as these must sound authentic. As a general rule, the more articulations an instrument offers the more scope there is to make the instrument sound convincingly realistic. This is especially the case for String or Brass instruments. Some instrument developers will apply vintage settings to their instruments. Big Fish Audio offers a great vintage collection. These instruments are produced with the sort of imperfections that give them an authentically retro feel. If your instruments do sound too clean out of the box don’t worry because they can easily be processed to give them more vintage sound. (see below)

Drums: the key to a vintage sound
When attempting to emulate the sound of an old vintage recording one element more than any other can sell the effect – Drums! Drums are the bedrock of most musical productions and as such play a major part in its overall sound.
80s-sounding drums are probably the easiest to replicate. Whether using an acoustic kit (Live or virtual) or the infamous Linn Drum simply apply lashings of reverb and a noise gate and you’ll be instantly transported back to a land of fax machines and Wimpy Bars.
60’s and 70’s drums are an altogether more challenging prospect. The simplest option is to use drum loops. Vintage drum samples are a staple of royalty-free sample packs. We have plenty of great vintage-sounding drum breaks available on RouteNote Create including these belters from Funkydown Studios.
Virtual Drum Kits
The main disadvantage of using drum loops is that you’re more restricted when it comes to drum arrangement. Playing in your own drums will give you infinitely more opportunities for creative exploration. And if you don’t happen to be a budding John Bonham or Steve Gadd then don’t panic. Virtual drum kits provide the perfect opportunity to lay down seriously realistic drum parts from the comfort of your MIDI controller.
Addictive Drums 2 and Superior Drummer 3 are two of the most in-depth specialist drum VSTs on the market and both offer lots of vintage sampled kits. If your budget can’t quite stretch to these options then there are many cheaper options available. Drum Drops offer some fantastic competitively priced multi-sampled MIDI drum kits that specialise in providing a vintage sound.
Try to search out vintage drum kits as these will feature the sort of drums that were played back in the day. You will probably still have to apply lots of additional processing in order to make these drums sound authentically old but more on that in the next sections. While many of these virtual MIDI drum kits feature pre-programmed drum patterns and fills, you will probably want to program your own drums. Try to avoid straight quantisation or singular velocity levels. Experiment with different swings as well as playing in drums live. If available on your DAW experiment with quantisation randomisers or different groove templates. You could even try applying your own groove templates by capturing the performances of your favourite drummers. The key is to give your drums as live a feel as possible. The following video gives some great advice on how to make realistic vintage-sounding drum breaks.
Audio processing for a vintage sound
So you’ve delved back in time, analysed the sounds and styles of the day and sourced the perfect instrumentation for your composition. Now for the crucial job of audio processing. Most modern production aims for extreme clarity and sonic perfection but you need to throw all this out of the window when trying to obtain a vintage sound. When working on a vintage sounding recording you need to be aware of the limitations of the day and apply these to your processing. So let’s take a look at all the different factors involved
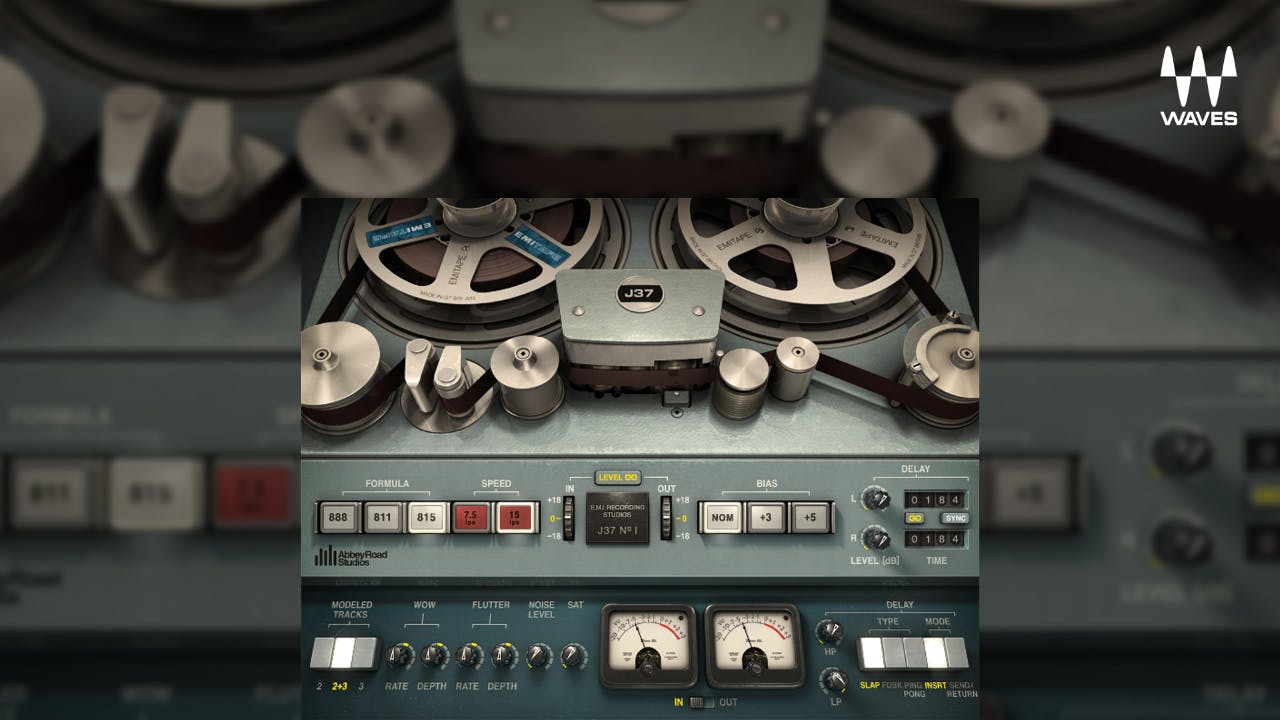
Tape Saturation
Tape saturation is a hallmark of vintage recordings. It adds warmth, subtle distortion, and a unique sonic character. Fortunately, you won’t be stuck for choice when it comes to tape saturator plugins. Your DAW may even offer a stock tape emulation plugin.
These plugins mimic the effects of running your audio through an analogue tape machine. I would recommend adding tape saturation to each individual channel or stem. The culminating effect of all this tape saturation should start to sell a vintage sound. Most saturators will offer control over parameters like saturation, wow and flutter, and tape speed to dial in the vintage sound you desire.
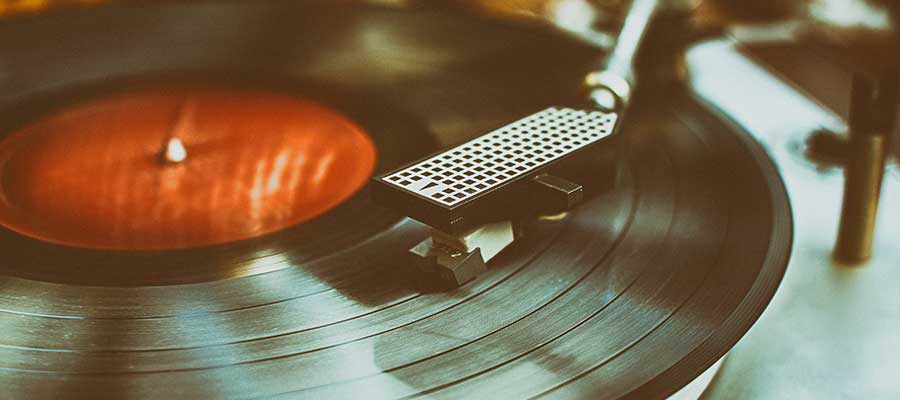
Vinyl Emulator
Another fantastic form of saturation is a Vinyl emulator. Tools like the Abbey Road vinyl plugin attempt to capture the unique sound characteristics of vinyl. You can even apply authentic static but remember if you are applying the vinyl plugin to multiple tracks don’t include the static effect on each track as the cumulative effect will be unrealistic. Instead, add some additional vinyl emulation to the master channel applying the static. It is also important to avoid adding reverb to any vinyl static noise.
A great FREE alternative to Abbey Roads vinyl plugin is Izotope’s Vinyl. This is an essential tool for anyone attempting to create a vintage sound.
EQ
Begin by applying high-pass and low-pass filters. Roll off the extreme lows and highs, just as vintage recording equipment often did. This imparts a warmer and more subdued tonal quality to your track. Vintage recordings often featured a pronounced mid-range. Boosting the mid-frequency bands can bring your track closer to that vintage warmth. Focus on frequencies between 200Hz and 2kHz, adjusting to taste. Vintage recordings often had subtle harmonic colouration due to the limitations of older equipment. To emulate this, consider using modelled versions of analog-style EQ plugins like the Pultec EQP-1A or Neve 1073.
The following video demonstrates some great vintage EQing techniques.
Compression
Vintage compressors have a distinctive sound that can’t be replicated with standard digital compressors. Look for DAW plugins that emulate classic analogue compressors like the LA-2A or the 1176. These plugins offer the gentle compression and analogue warmth that are often associated with a vintage sound.
Try grouping tracks together i.e. Drums, perc and Bass/keys and guitars/Orchestral elements and adding compression to these groups. This can have the effect of glueing the elements together.
Vintage Reverb
When it comes to the kind of reverbs used in the 60s and 70s there are two main players. Plates and Springs. Plates became popular in the 60s as a way to artificially produce the effect of space. They have a fairly bright and somewhat metallic character and sound fantastic on drums. Spring reverbs were also widely used in studios of the past. Genres such as 60’s garage and psych music as well as Reggae were often drenched in lashings of springy verb. While spring reverb is mostly associated with guitar and organ, subtle amounts can be added to almost anything to create a magical ageing effect.

When using reverb to create a vintage sound I would suggest sticking to just one or two reverbs that you apply in varying amounts to different tracks. This will represent accurately the circumstances of a vintage studio recording. You might want to select a tighter room reverb to simulate the live recording space and then a longer-tailed reverb for effect.
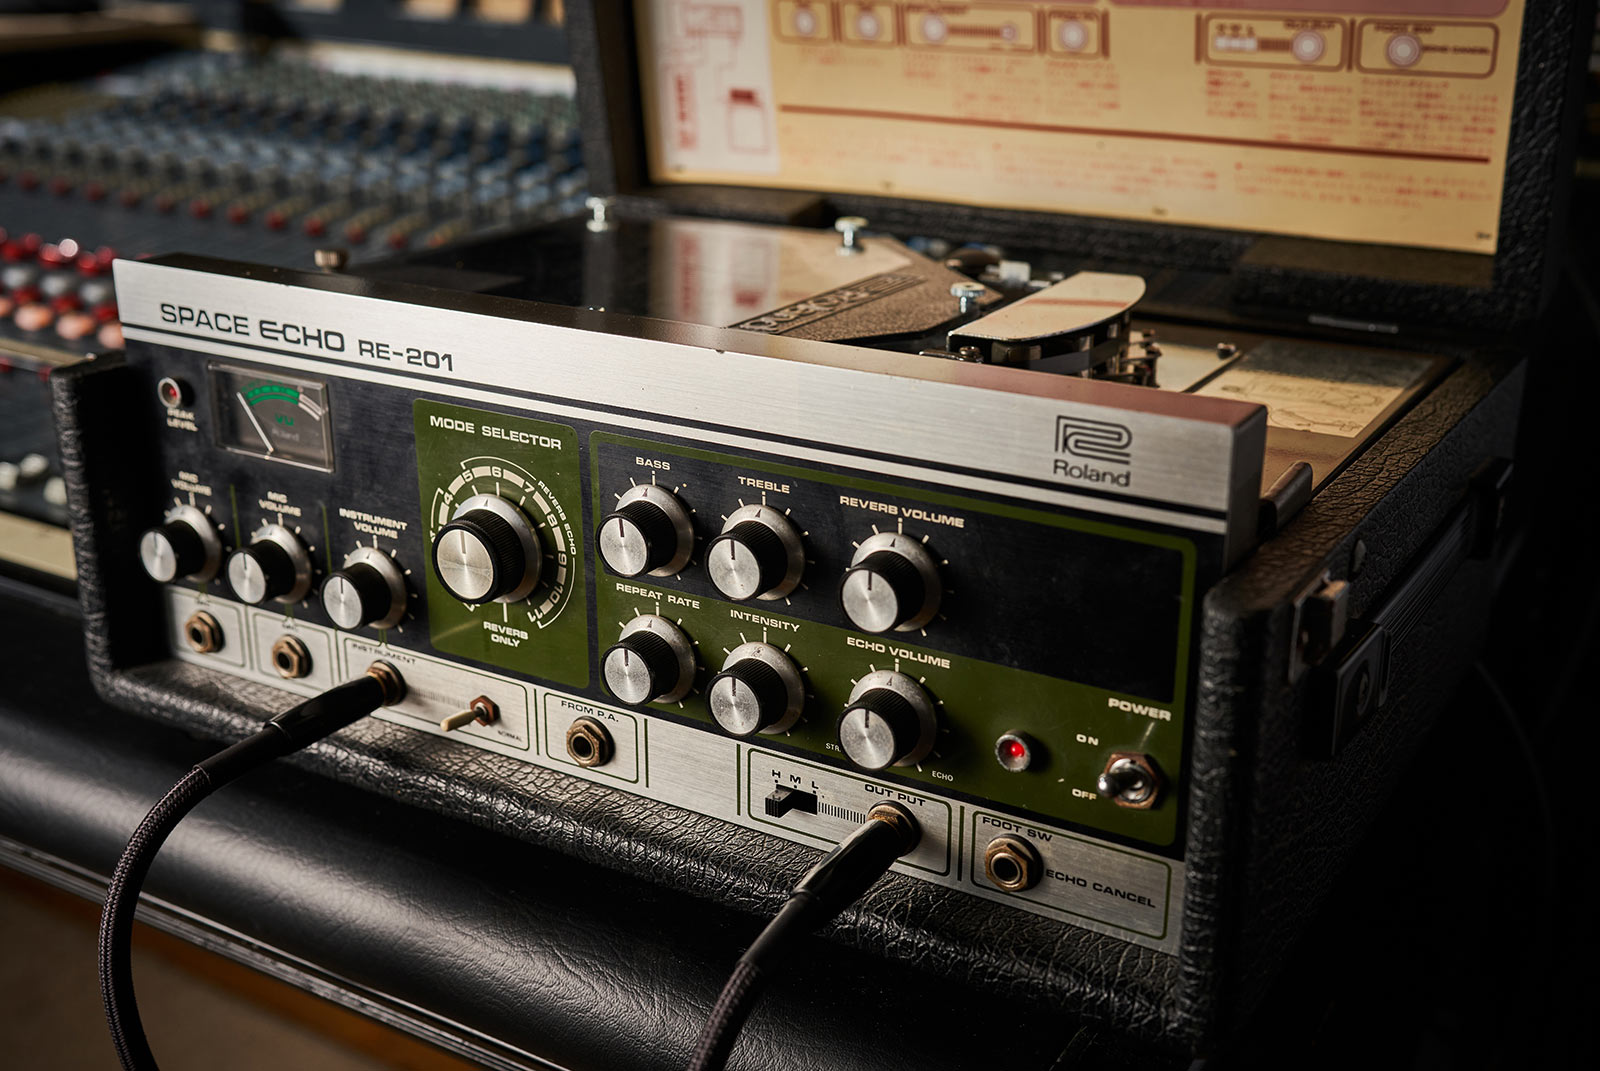
Vintage Delays
When it comes to vintage delays there’s one type that rules the roost. Tape Delay! The most famous tape delay units were the Roland Space Echo’s. Original space echos are much sought after and thus carry a hefty price tag. Luckily there are some amazingly realistic plugin emulations of the Space Echo and other machines. Tape echo particularly when applied to vocals will add an instant air of nostalgia.
Amp Simulators
Applying an amp simulator is a great technique to add a degree of grit or distortion to an instrument track or vocal. First, select an amp cab that you like the sound of. Modelled Vintage valve amps are perfect. Fender and Orange amps are a great choice. Depending on the effect you’re going for, dial in some of the amp signal with the original signal. This will create a degree of degradation to the signal which represents the limitations of old studio equipment and a vintage sound.
FX
Finally, why not experiment and have fun with some effects? Phasers, Flangers, Chorus, Wha-Wha and Tremelo are just a selection of the effect types widely used in the past. Research your given genre to reveal the sort of effects used.
Summary
In conclusion, creating a vintage sound within your DAW while being challenging is certainly possible. It requires a well-trained ear attuned to the sound of the past. By selecting the right VST’s and plugins and employing the appropriate techniques you should be able to get close to retro nirvana.
So, dive into your DAW, experiment, and enjoy the process of crafting that timeless, vintage sound. Oh and finally to fully embrace the retro aesthetic you you may want to don a comfy pair of brown corduroy trousers!
Remember – RouteNote Create subscriptions start from as little as $2.99. You also get 10 FREE credits to spend on samples along with access to our FREE sample pack bundle when you sign-up!