How to Record External Hardware Synths in Ableton, Logic and FL Studio
How to Connect Your Synth, Audio Interface and Computer
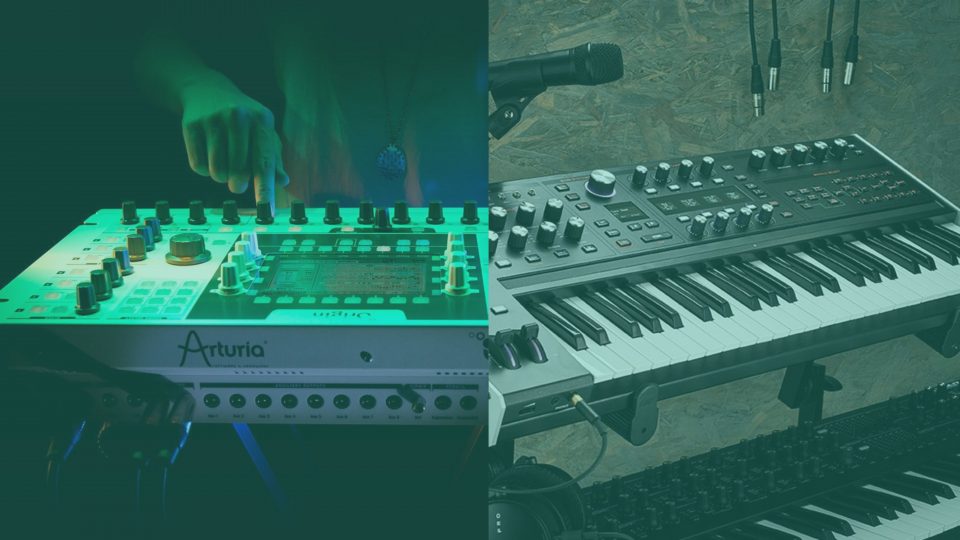
First up, let’s get your synth plugged in.
Some synths may come with a dedicated power supply and some won’t. To connect to your computer, and therefore your DAW, your synth may have also come with a MIDI to USB cable.
The power supply cable is self-explanatory, so we’ll let you go and plug that into the wall. If your synth has a MIDI to USB cable, plug the USB side into your PC or MAC and the MIDI side into the dedicated slot in your synth.
USB connection is only for MIDI information. Audio information has its own dedicated connection comprised of the classic ¼ jack. Go ahead and plug your ¼” jack into your interface from your synth!
On the other hand, other synths only have a MIDI cable connection for both power & connectivity to your audio interface. If you don’t have an audio interface, look into getting yourself a or MIDI hub – USB adapter.
If your synth only has a MIDI cable slot, plug your cable into the synth and interface/adapter!
How to Record Hardware Synths into Ableton
- Enable inputs and outputs via MIDI panel in preferences
The “Track” column determines whether or not the synth sends and recieves MIDI information. Turn this on at both input (top) and output (bottom).
The “Sync” column represents the overall data of the session (not information of the track inside the session). The “Sync” button sets whether Ableton sends this information to the synth so that the hardware can sync its internal arpeggiator to the session. Turn “Sync” on at the output. - Set “Monitoring” to “Auto” on the MIDI track.
When you set up external hardware, two channels/tracks become available to you. One channel is for MIDI notes, but the other is for rendered audio.
To save you time in the future you can group the MIDI and Audio tracks together. You can then drag the group to the Templates folder and save it as a preset.
- Switch Monitoring to “In” on your Audio track.
The difference between Auto and In(put) is that, when set to Auto, it only recieves input after priming the track for recording – which we haven’t yet done. - On your MIDI track, set your Buffer size to 256 samples (roughly 5ms).
When we record audio, it records in chunks (individual samples). The bigger your Buffer size is, the less likely your audio is to have pops and clicks.
If you have a bigger Buffer size then latency occurs. Latency is when you play a note but don’t hear corresponding audio for, say, another 3 seconds.
However, if you have a really short buffer size then your computer can’t keep up.
So find a compromise, but 256 samples usually work pretty well. - Now hit the record button and play some notes and revel in your hard work as notes appear on the screen.
- When you’re happy with the flow of your music and all FX in the MIDI channel, right-click on the MIDI track and select “Freeze Audio”. Now you have an audio recording!
How to Record Hardware Synths into FL Studio
- In preferences, under MIDI, select “Send Master Sync” so the little dot is green.
- Still in your preferences, set “Port” to any number you want. This selects a channel of communication between your hardware and software. Make sure you use a different Port number for every piece of hardware you set!
The final step in your preferences should be to enable your chosen hardware under the Input section too! - The next step is to load up MIDI Out in your channel rack via the plugin picker.
- In your instance of MIDI Out, set both the Port and Communication channel on the left to whatever you originally set the Port to in your preferences.
- Now press record and start playing!
How to Record Hardware Synths into Logic
Under MIDI destination, select your synth and then “All” channels
Audio input: (relevant input interface)
Now you’ve made your track, name it if you want
- Load up your system preferences and head to External MIDI
- Select “Use External Instrument Instrument Plug-in”
- Next up on your to-do list is to select your synth under MIDI Destination. When the Channels pop up appears just select “All” at the top.
- Under Audio Input, select your synth
- Now you should see a new track appear in your timeline. You can even name it.
- Press record and start playing!
As well as your ultra-tight synth recordings, your music may need something a little different. Well, we’ve got you.
We at Mixxed are working with countless sample creators and labels across multiple genres to provide you with the most accessible sample subscription service yet.
For less than $3 a month, you’ll have access to our catalogue of samples that is growing daily as we work with more and more contributors. Our users are already creating music like never before with the sounds at their disposal, don’t you want to do the same?
Sign up today to find your sound!