
How to Use Reverb on Vocals: A Beginners Guide
You may have come to realise that without the proper processing chain in place, applying reverb to your vocals can get messy – quickly.
But there are easy solutions. In this article, we’re talking about how to use reverb vocals and how much reverb you should use on vocals too.
Without reverb, your vocal tracks can sound dry. In turn, your vocals won’t sit right in your mix and they’ll sound fairly unnatural in comparison. Above all, reverb puts any sound in a certain space. Whether a hall or a room, whether plait or spring, reverb is an amazing tool (and a natural phenomenon) that you can use to add new textures and depth to your vocal tracks.
Create A Reverb Bus
If you’ve been inserting your reverb plugin directly on your vocal channel, this is your first mistake. For full control over your reverb processing, it’s best practice to create a reverb bus track.
A reverb bus track allows you to edit the effect and tone of your reverb without affecting the characteristics of your vocal track itself.
For example, an EQ on your reverb bus track allows you to cut or boost frequencies from only your reverb. But if you have your reverb on your vocal channel then you’d be affecting the frequencies of the whole vocal track!
With your reverb plugin on a dedicated bus channel, it’s time to look at your reverb settings.
How Much Reverb to Use On Vocals
The truth is that reverb amount is all down to personal taste. However, if you are using a reverb amount that is drowning your mix out then you’re using too much. If cutting frequencies away from your reverb isn’t doing the trick, lower the “wet” knob on your reverb plugin. If your vocals don’t sound like they’re inside a space, you’re probably using too little reverb. Try turning up the wet knob!
Before we do dig in, we should say that there is more than one way to apply reverb to your vocal tracks. Again, it’s down to personal taste. But that doesn’t mean that we’re not going to give you any pointers!
For Long Reverbs
For tracks with slower tempos, longer reverb tails sit much better. Also, slower tempos allow rooms like churches and halls to sound more at home in your track in some cases.
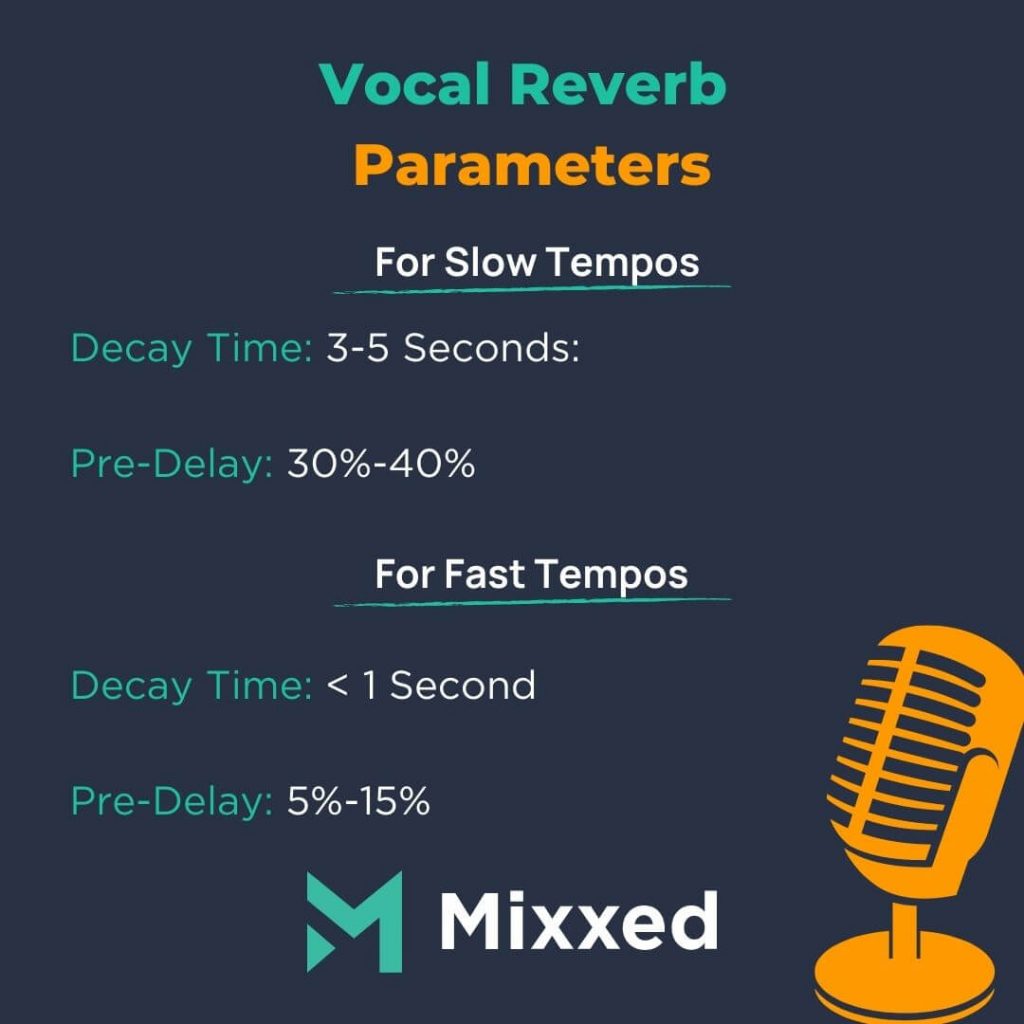
For a longer reverb, a key ingredient is a longer decay time. But don’t go crazy and dial the decay knob all the way to maximum. Rather, experiment with times such as 3, 4 and 5 second decay times!
Next, set your pre-delay to around 30% – 40% as a starting point. You can use the pre-delay setting to create rhythmic reverb. On top of rhythmic opportunities, pre-delay is also great for allowing vocal transients to peep through before reverb kicks in!
With your pre-delay at 30%-40%, you can freely experiment with what works within your track.
Finally, let’s load up an EQ. Play around with your high-pass around 200Hz – 300Hz. Then your low-pass at about 10kHz – 12kHz. Together, these settings allow you to pinpoint what frequency space you w at your reverb to occupy. But consider how thick you want your reverb to be, and then what your track will allow for.
For Shorter Reverbs
Now, let’s talk about reverb for faster tempos.
In contrast to the settings we just suggested for you, the goal here is to keep your tail shorter. Attenuate your decay knob to less than a second for a tighter reverb. Furthermore, you can attenuate your pre-delay to 5% to 15%. But, again, experiment and fit your taste.
As you may now be seeing, there is a multitude of ways that you can create a great vocal reverb. What you should pay attention to, though, is two things. Acknowledge both the impact and effect that the reverb parameters are having as you play with them. On top of the parameters, you should always keep an idea of the mood/feeling of your track and vocal that you are aiming for.
Now that you are building your understanding of how you can manipulate reverb settings, you’ll soon be finessing the tone of your vocal reverb.
Other Effects
As your reverb plugin is sitting on a dedicated reverb bus, you have full creative control to apply other effects to your reverb too!
Two effects that add more personality to your reverb are saturation and compression.
Depending on your settings, you can use compression to make your reverb bigger or smaller, to duck it out of the way of your vocals, or even add a pulsing rhythm with a slow attack time.
You can use saturation, on the other hand, to add warmth and thickness to your reverb!
Does your track need some vocal lines, pronto? No problem.
The sampling revolution has risen in popularity and shaped music since the early 1970s. Sample culture continues to transform how millions of artists and producers do their thing in DAWs.
You too can break conventional norms, challenge the status quo, and open Pandora’s box of sound design.
Mixxed works with a growing number of sample labels and contributors to provide you with an affordable sample subscription service that’s more accessible than any before.
You’ll have access to our growing catalogue of loops, one-shots and sound effects that you can browse, download and keep forever for less than $3 a month.
Sign up today to find your sound!