What Are Buses, Aux and Send Tracks?
Sends vs Buses vs Auxiliery Tracks
In the audio tech world, you’ve heard buses, auxes, sends and returns come up in conversation.
People talk about these entities all the time, but what are they? What’s the difference between them?
Each of these processes is about routing audio inside your DAW, but these terms were born before DAWs were.
Mixxed Mixer Tips
How Do I Measure Sound Pressure Levels (SPL) in My Music?
Difference Between Gain and Volume
Top 5 Metering Plugins to Masterfully Improve Your Tracks
Group Mixing & Parallel Processing
These are two concepts we’ve discussed extensively in our Explain Compression series, but how do they work?
Okay, so you have a snare, kick, and hi-hat on 3 individual channels inside your DAW mixer. To mix them together with the same compression & reverb, you need to create a bus. A drum bus.
When it comes to parallel compression for your kick & snare, or your vocals or bass, you need to use an auxiliary (aux) track.
All DAWs are modelled after physical mixing consoles, so this holds true for all DAWS.
What is the Difference Between a Bus and an Auxiliary ?
What Are Buses?
A bus is a dedicated channel on your mixer that you have chosen to send multiple signals to. These multiple signals come from other individual channels on your mixer.
So, your kick, snare, and hi-hat have their own individual channels. Rather than send these signals to the master channel (which is itself a bus, the “master bus“) individually, you want to send them all to another singular channel strip for group processing. From this channel, you then route these signals to the master channel.
What Are Auxiliary (Aux) Tracks?
Commonly referred to as return tracks, aux tracks also accept signals from multiple other channels. However, with an aux track, you also send the same multiple signals to the master bus as well as the aux track.
This is what differentiates buses & aux tracks, and what makes parallel processing possible.
Another major difference between an aux and a bus is that you can’t record audio on an aux track. An aux track is dedicated to receiving duplicated signals for you to add external effects to the signal.
An advantage with this process, over adding effects to the individual channels themselves, is you are leaving the original signal (the dry signal) untouched by the effects. This means you can easily manipulate the dry/wet parameter of applied effects with the volume fader on the aux channel (the wet signal).
For a tutorial on parallel processing, check out our parallel compression tutorial! It’s a one-stop shop to highlight the power in your Mixxed percussion samples.
What Are Sends?
Newbies sometimes get confused about sends (I know I used to). They believe they serve the same function as an aux or a bus, but this is untrue.
A send is simply a parameter. It’s the knob that allows you to attenuate the level of the signal being sent to your aux track or bus track.
Think of a send as a flood gate. The more you open the gate, the more water comes in.

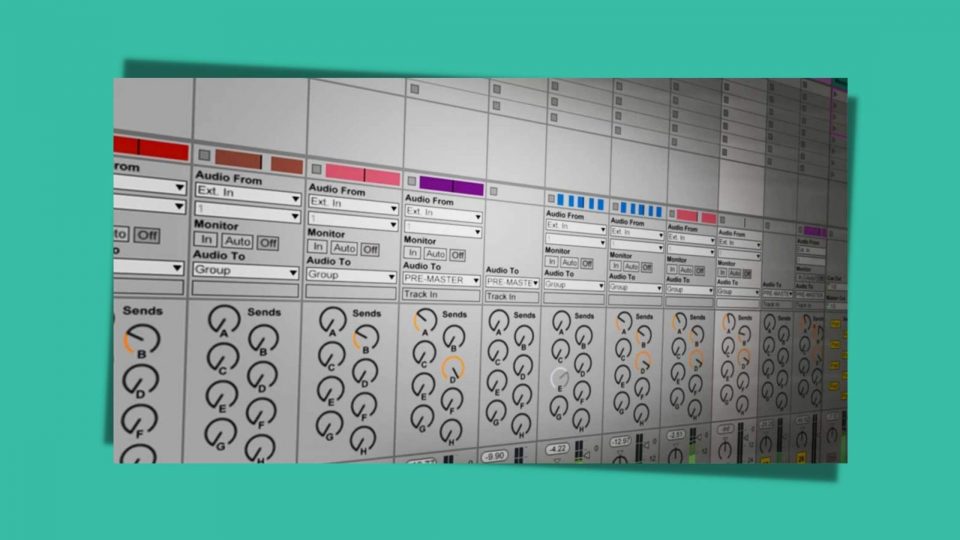
In the image above, you can see that the signal from channel 4 is being sent directly to the master bus.
On the master bus, the knob with a green highlight is the send parameter. You can see what would be a green ring is about 80% full. This indicates that the master bus is only letting in 80% of the signal it’s receiving.
If you were to send signals from channels 1, 2 & 3 to the master as well, the master channel would still only let in 80% of the signal it’s receiving. That is, of course, if you don’t open the flood gate some more – or close it!
This process is exactly the same for all channels. The master bus is only master in name when it comes to buses, auxiliaries & sends.