Noise Floor: What is it?
What is Noise Floor in Audio?
I want you to imagine four walls, a ceiling, and a floor. This room is your latest song. Now imagine there’s a flood of water pouring through the front door. That water is the slight hum coming through your monitors. You’d want the water level to be as close to the floor as possible, right? To avoid your stuff getting damaged? That’s the noise floor, baby.
Noise floor is a technical difficulty that all producers have to deal with because all electronic devices produce noise. Everything from your microphone and launch pad, all the way to your computer. That’s not even mentioning preamps (yes, really)!
Noise floor is the total amount of noise that one particular device produces. Most of the time you won’t even hear it because it’s so quiet – but that’s not the case in every scenario. It’s the background noise you detect in a recorded audio file.
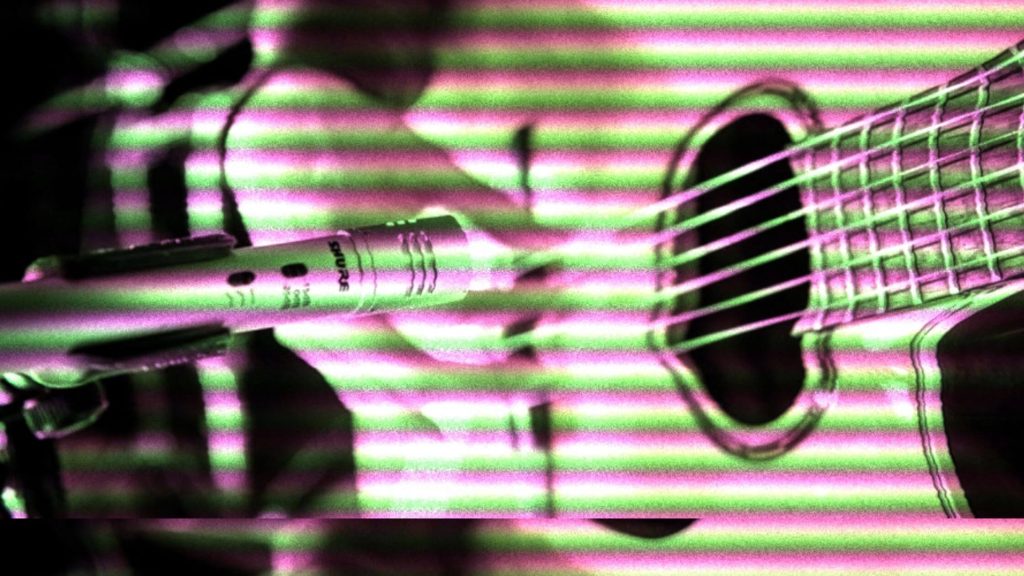
It’s easiest to detect when there is no other signal going along with it. You know that annoying feeling when you stop playing your guitar and you hear a buzzing that you didn’t hear before?
The lower your noise floor is, the better your recording will be.
One more unwanted thing we should mention is background noise. Sound bouncing off walls and into your microphone. Your loud neighbors. The kids playing in the street.
These all add to the noise floor. When we said “background noise you detect in a recorded audio file“, we were not joking.
READ MORE: What Are The Different Types of Microphones and How Do They Work?

Mixxed Mixer Tips
How Do I Measure Sound Pressure Levels (SPL) in My Music?
What Are Buses, Aux and Send Tracks?
Difference Between Gain and Volume
Top 5 Metering Plugins to Masterfully Improve Your Tracks
How to Reduce Noise Floor in Recording
Background noise is unwanted. We’re on the same page with that, I’m sure. If you’re looking for samples, you can find sounds with no unwanted noise on Mixxed. We take sound quality seriously and don’t want you to use poor-quality samples in your music.
You can’t “fix” noise once it’s recorded unless you get very lucky and can isolate it from the rest of the recording completely. This is why it’s super important to minimize your noise floor before anything is recorded.
All sounds in your recording will be turned up when you reach the mixing and mastering stages, so you want the audio signals in there to be as clean as possible. Sounds that you don’t notice before recording will be screaming at you if you don’t spot them early enough.
Some basic things you can do to avoid background noise and hums (known as ground loops, a low-frequency buzz that sounds like a hum) are:
Perform Closer to the Mic
This will make you more prominent in the recording and separate you from the other signals that the mic picks up.
However, be wary of plosives and sibilance. Plosives (P’s and B’s) and sibilance (S & T’s) will be prominent in your recording the closer you are to the mic. To work around this, invest in a pop filter. They break up the air coming from your mouth before reaching the microphone and reduce the prevalence of the high-frequency sibilances and poppy plosives.
Another method is recording with the microphone capsule off-axis (don’t sing directly into the mic). One last option is to look into a de-esser plugin to remove sibilance or a high pass filter to remove plosives.
Acoustic Panels & Bass Traps
Foam panels absorb mid to high frequencies and bass traps absorb the lower frequencies. The clue is in the name, I guess.
Use Wooden Flooring With a Rug
Having a fully carpeted room will absorb higher frequencies, but not the lower tones – this will lead to feedback going through your microphone. A wooden floor with a rug will be golden.
Record With The Curtains Closed
If you live on a street, which I imagine you do if you don’t live in a treehouse, you may have experienced rumbles in your recordings that are caused by things like cars driving outside.
A quick fix for this problem is to close the window and shut the curtains. This is also handy because you don’t want soundwaves to bounce off your window and cause them to come back harsher than before.
Make Sure All Equipment is Plugged into the Same Outlet
Due to a difference in the ground value of plug sockets, some pieces of hardware will generate noise if they’re connected to another piece of hardware that’s using a different plug socket. Time for some extension leads?
Check Your Cables
You may be experiencing an annoying hum if your cables are dodgy. You may be able to resolve it if you unplug, or even wiggle, cables and connectors and plug them back in.
This is a red alert that you need a new cable or audio interface.
READ MORE: Top 5 Audio Interfaces for Beginners
Isolate the Microphone, Use High Quality Preamps, Use a Reflection Filter
Make sure you can put the microphone somewhere that it will be safe from external noises that you have no control over (noisy neighbors). Use a high-end preamp/audio interface so your condenser is less likely to have that dreaded hum.
A useful tool to help you isolate the mic is a reflection filter. This will catch any loose soundwaves and absorb them before the mic picks them up as feedback.
How to Avoid Interference in Audio Recording
One last thing we’d like to tell you about is interference.
Electromagnetic waves travel through the air all day, every day. The majority aren’t issues during recording, but with electrical devices like phones, tablets, and even wifi, you could pick up a weird buzzing noise if you aren’t careful.
If you were to place your smartphone next to your audio interface, you may hear just that buzzing.
We can only recommend that you keep your phone away from your recording equipment or turn it off. I mean, you shouldn’t be on your phone while making music, anyway.
Avoid placing your wifi box in the same room as your recording setup. Interference can come from your WiFi signal, so it’s best to cut that problem out before it starts.
Final Tips to Minimise Noise in Recording
A useful trick is to unplug any equipment you’re not using. As all electronic devices produce noise, it’s easy to reduce the amount in your recording by unplugging any equipment you’re not using.
Record in a room with a high ceiling. This cuts the amount of sound being bounced around the room as it has further to travel and therefore dissipates.
If you’re recording with a sensitive mic, stay as still as possible or buy a microphone stand.
Be mindful of your clothes and the things around you. Avoid sitting on a squeaky chair and wear a t-shirt, for example, when recording your guitar.
Invest in a condenser microphone with a low-cut switch. This will allow you to completely avoid unwanted lower frequencies as the mic won’t pick them up.
Use balanced 1/4″ TRS where you can. TRS cables flip the polarity of the signal traveling through them and reproduce a cleaner sound.
READ MORE: How Do I Measure Sound Pressure Levels (SPL) in My Music?