What is Gain Staging?
Okay, so we’ve explored the difference between volume & gain and we summarised gain staging. But let’s get down & dirty with the technicals of this important mixing process.
Gain staging is the process of ensuring the level of your signal is the same coming out of a channel as it was going in.
Our ears perceive loud sounds as better when compared to soft sounds. This makes it important to maintain a consistent level when sending an audio signal into a plugin and coming out the other side because it’s easier for us to hear if the plugin is actually doing what we want – rather than just making the sound louder or quieter.
A basic example of this is compression.
When you attenuate the dynamic range of a signal, you lose volume. So, it’s vital to use makeup gain to bring the signal level back to where it was before you applied compression.
Sound Pressure Levels and Noise Floor are topics that will help you better understand gain staging if you’re not caught up with those already. We’ve broken down these concepts for you in the linked articles, so you can easily catch up!
Mixxed Mixer Tips
How Do I Measure Sound Pressure Levels (SPL) in My Music?
What Are Buses, Aux and Send Tracks?
Difference Between Gain and Volume
Top 5 Metering Plugins to Masterfully Improve Your Tracks
Gain Staging Drums, Vocals… Everything!
The way we can handle audio inside DAWs now is crazy. The A list studio producers of the analogue days, and even of the days where digital was first making an appearance, would not have believed the capabilities that technology has blessed us with.
In the age of digital, 0 dBFS (dB Full Scale) is the loudest point at which our audio can reach before it begins digitally clipping.
Digital clipping is a hot mess. It can be used for creative effect, but we’re not going to go into that here.
A Blast to the Past
In the days of analogue, all signals that were leaving one piece of equipment and entering another had to be adjusted. Every piece of hardware had to be levelled properly so that the chain wasn’t overloading, as well as to achieve a good result.
A good result could be a clean mix, a well-saturated sound, etc. It really depended on what the engineer wanted and what they were using.
Some issues that commonly came up were as follows:
If a signal was too quiet, it was too close to the noise floor.
If a piece of equipment was pushed too hard (driven past the point its power supply’s voltage could work with) then unwanted distortion was brought about. This distortion is a representation of the signal breaching the ceiling (headroom).
So, with analogue equipment, gain staging was about adjusting the amplification of each piece of equipment to get the best signal to noise ratio that the mixing engineer could.
Your mission is to avoid being too close to the noise floor, and you also want to leave enough headroom. This gives you a buffer zone that can accommodate loud spikes and transients and avoiding distortion.
Back to Digital
Here and now, we can actually push above 0 dBFS without clipping the signal.
To do this, you need to ensure you have a bus set up. However, rather than having multiple channels directed to that bus, you only need one channel – the dedicated channel of your signal.
By sending the signal to a second channel, you have two faders you can attenuate (but we’re going to give you some advice about this later). So, by dipping back down on the track’s corresponding channel, you can avoid breaching the 0 dBFS point whilst also pushing the signal very hard on its source channel.
This brings you a lot of freedom. Much more freedom than our mixing ancestors had!
You’ve got that drum loop you made with Mixxed samples. The loop is balanced and solidly processed. Its only drawback is that the drums push the whole mix into the red. Past 0 dBFS.
Because your processing is pristine, you don’t want to play with any plugins you’ve used. How do you solve this problem?
We’re going to tell you that, and so much more.
Gain Staging Cheat Sheet
Quality Recordings
For recording artists, this is the most important step. A lot of people record their instruments too loudly, and if audio is recorded too loudly then your song will be quieter. This is because you have removed a lot of headroom with one instrument.
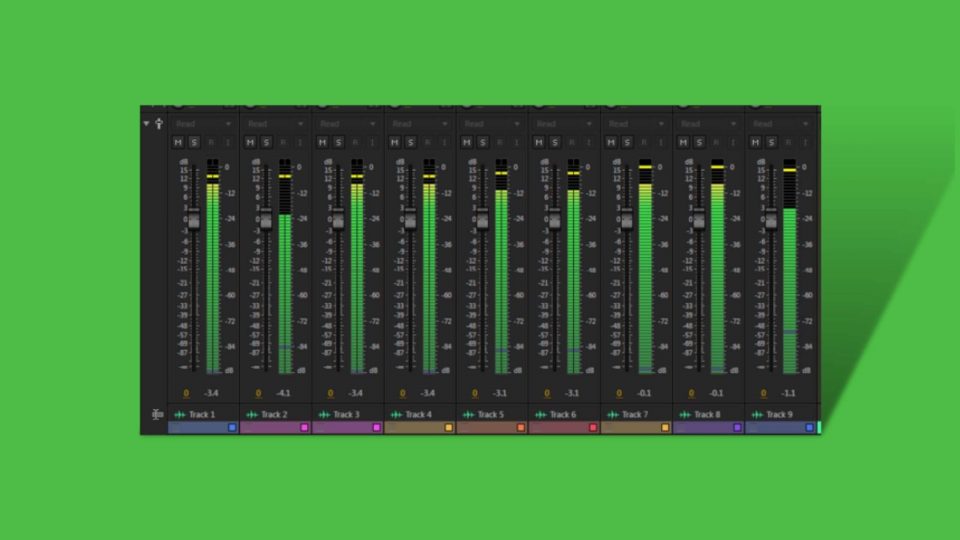
This means that you won’t be able to turn up the volume of the track to meet professional standards, as well as receiving unwanted distortion. It’s vital you pay attention to the dBFS meters on your DAW’s mixer.
Always make sure your input level is at -18dBFS on average, whether you’re recording or inputting MIDI notes, and make sure your peaks aren’t breaching -10dBFS! The highest value that you should make sure your signal does not ever breach is -6dBFS.
These guidelines will mean you do not remove any headroom that takes away opportunities for future gain staging.
Learn to Use a VU Meter & LUFS Meter
A VU Meter is a handy metering tool that you should be popping on your master bus before inputting or creating anything.
VU (Volume Unit) Meters shows you a calculated estimate of how loud a channel/bus/signal is. VU Meters are great when you’re focused on the average volume of a track.
They’re a great tool because of the control they give you. You can set your VU Meter to -18 dBFS, which means that the 0 value in your VU Meter is the same as 18 dBFS on your master bus.
We’ve discussed LUF Meters, also known as loudness meters, before in our Sound Pressure Level article. To summarise them, they give you an accurate representation of how loud your signal actually is.
Rather than using your mixers peak meters, loudness meters analyze audio by taking into account duration as well as frequency. Loudness Units (LU) are their unit of measurement, and even a change of one LU is noticeable to your ears.
So, VU Meters allows you to see average volume levels before you begin recording (beginning of your master bus). Loudness meters, however, allow you to dissect a processed signal (end of your master bus) to accurately see what LU levels your signal is reaching.
Adjust Your Plugins As You Go
The more plugins you use, the easier this one is to forget. But you should not forget it. You should do anything but forget it!
Every plugin that you use requires gain staging because plugins naturally add or subtract volume.
If you’re eliminating frequencies with a filter or an EQ, you’ve probably reduced the level going out of that plugin. So, use the output gain/volume knob to make up for the lost levels.
This can feed right back to the previous point. Make sure the LUF meter is active on your master bus and then solo the track with the filter or EQ on it. Make sure you turn the plugin on and off to see the difference in signal level on the loudness meter and then use the makeup gain/output volume parameter on the plugin to even the levels out.
Use this process before you even think about touching the volume fader(s) on the mixer channel!
Compressors are great examples to back this point up. If you use a volume fader to attenuate the volume of a channel with a compressor on it, the compressor will do less than it was doing when the volume was higher – because you’ve reduced the input gain!
This will throw your entire mix out of balance and really stress you out. Save yourself the headache!
If you have a plugin chain that is causing your channel to be too loud, that’s okay. All you have to do is plop a gain plugin at the end of this plugin chain (after the compressor) and attenuate the gain that way. This saves all of your plugin settings and saves you a headache!
Gain Stage Your Buses!
Buses are just as easy to control as individual channels. If the signal is too hot on entry, plop a gain plugin at the very start of its plugin chain and turn it down. Problem solved.
To dissect a bus even further, use makeup gain on the individual plugins (as you go) to attenuate or raise the output volume of each plugin (and the bus itself) as and when needed.
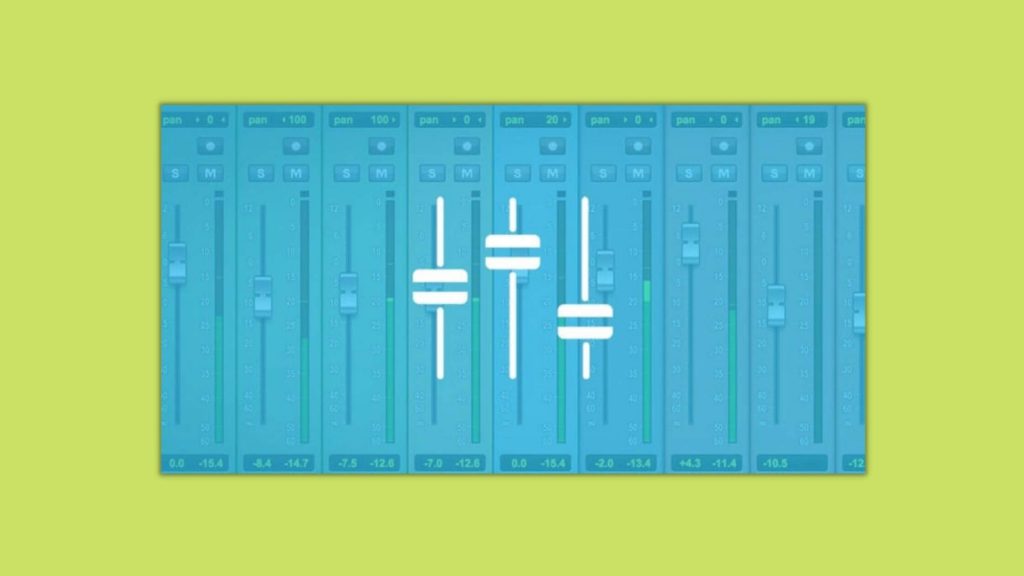
Avoid Low Faders
Do you have a channel that’s only supposed to be slightly audible, like a pad?
Well, low faders are not a viable method of achieving this and having a clean mixdown. The closer your faders are to the bottom, they offer less resolution in sound quality. One slight movement could dramatically change the volume of the sound.
Therefore, aim for faders levels to be around 0dB. This will keep your resolution for your final mixdown.
Use gain plugins at the end of your plugin chain, and use these to attenuate volume instead. This eliminates low-resolution problems that arise due to low input gains and makes the channel as audible as you need and want.
Don’t Be Scared to Automate
Our final tip for gain staging is automation.
Do you have a channel that’s really quiet in some areas but peaking too loudly in others? No worries, automation can solve this.
Automate that particular channels gain over time and change the gain throughout the song. This allows you to make sure the gain is perfect at all times. It’s literally like operating on your channels!
Conclusion
We did it.
We’ve explored what gain staging is, why it matters, and how you can do it easily. Your mixdowns are about to sound a whole lot more professional.
To summarise, make sure you’re using VU & loudness meters to meter your average volume and true peaks.
Always aim to keep your audio at the -18 dBFS, allow for peaks to reach -10 dBFS, but never breach -6 dBFS!
Manage your buses, individual channels and EVERY PLUGIN.
Always use plugins to attenuate gain, avoid faders if you can.
And, finally, use automation to manage individual quiet and loud parts!