
How to Use Delay: A Beginners Guide
Delay is a time-based effect that brings depth and new dynamics to our music. It can make a sound be perceived as wider, and it can create space that is unattainable with the use of other time-based effects like reverb, chorus and flanger.
Where Does Delay Go in Your Signal Chain?
Delay can go anywhere. There are no rules here, and it’s not like a reverb where you have to be more critical of how neat it is.
But there are practices that are better than others.
For example, much like reverb, a delay is best applied as an aux track. This allows you to manipulate the wet signal without altering the dry signal (parallel processing). This also gives you further control over the blend between the wet and dry signal, as well as allowing you to add processing to only the wet signal to create more dynamics with modulation!
You can also use a delay as an insert in a serial FX chain.
A drawback of this process is that every plugin you insert after the delay will process the wet and dry channels together, and this means less control for you!
This is why it’s important to be aware of what you want to do with your delay. Adding unwanted processing to your wet and dry signals may take up a lot of headroom that gain staging won’t be able to fix!
A few general tips to follow if you’re using delay in a serial chain:
- Apply delay before reverb (else it’ll get very messy)
- Apply a compressor aftrer the delay if you think the dynamics of the delay output are a bit crazy
- Apply A compressor before delay if you want to tame transients before any delay happens (whichw ill give you a cleaner delay signal)
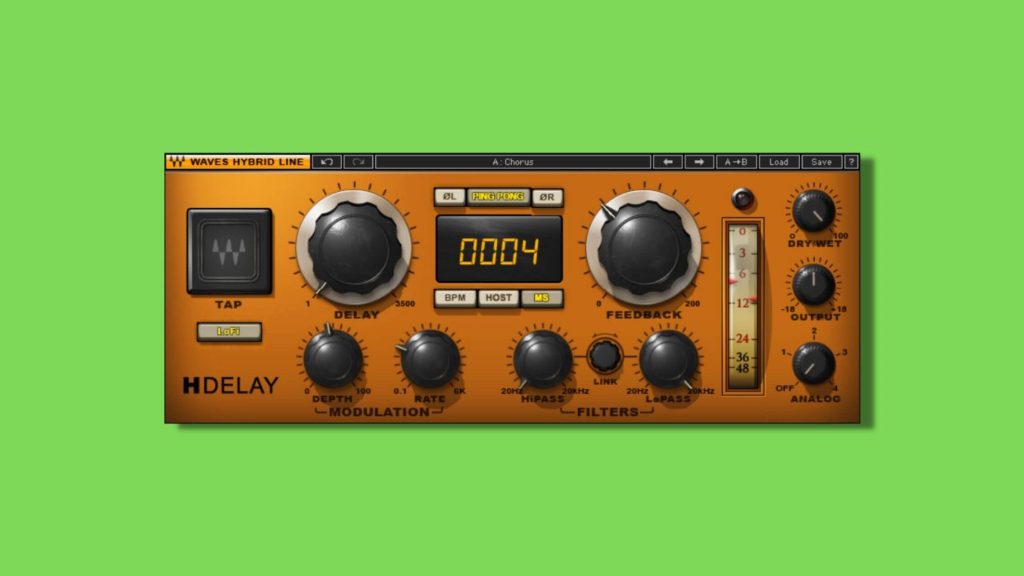
Delay Parameters: What Do You Have Control Over?
Tempo/BPM
This parameter sets the speed that the delay rate will be. You don’t have to match it with the tempo of your track, but it can help to use this as a starting point.
Dry/Wet (Mix)
This allows you to control how much of the delay output will sound like the dry or wet signal. If you have it fully on dry, there will be no delay. If you have it fully wet, all delay parameters that you have set will reach their full capacity (but not exceed the limit that you have set).
Delay Time
Most plugins allow you to sync the delay time to the tempo that you have set. This allows you to control how much time passes between the sound is repeated!
If you sync the delay time, you will get delay time options like 1/4 or 1/2. These represent note lengths and will be relative to the tempo of your delay!
If you choose not to sync your delay time, you will get the option to set delay time in milliseconds which gives you a lot more flexibility.
Feedback
Feedback enables you to determine how many repeats there will be when the original sound has played. It’s like controlling decay and release time on an envelope… you have power over the tail of the delay!
With a feedback setting of 100%, each repeated sound will be as loud as the previous. This will force it to continually repeat until you attenuate the feedback setting.
With 50% feedback, each repeat will only be half the level of the previous one!
With this in mind, a feedback setting of 0% will mean no delay at all!
Now that you know what the parameters of your delay plugins are, you can take this knowledge and manipulate any number of Mixxed‘s samples! When you learn about the different techniques, you’ll be able to manipulate them even further…
What Are the Different Delay Techniques?
Stereo Widening
By splitting a signal into two, one left signal and one right, with a delay time less than 50ms between them will make the listener perceive the audio as one channel that’s very wide. We advise aiming for between 10ms & 15ms, but experiment with different times below 50ms until you find what you like best!
As well as creating a thick stereo image, you can also manipulate the two channels differently! Play with pitch shifting (but don’t have a drastic amount of difference between the two pitches), add separate distortion and saturation, and anything you can think of that will make the sound richer! You’ll have some cool timbres going for you in no time!
Slap Back Delay
A technique that can create interesting rhythms, experiment with delay times between 70ms & 120ms and listen to how the delayed signal works with your dry signal.
You’ll hear melodies that you may not have thought of previously, and this may even inspire your next phrase!
Doubling Delay
If you wanted to take slap back delay further, you should try out doubling delay!
By using a shorter delay time between 20ms & 50ms, the listener will perceive the sound as one… so then you add processing to your wet signal! In the same fashion that we discussed with stereo widening, add effects like distortion (but only to your delayed signal) and see what new overtones and sidebands are created!
Ping Pong Delay
You know when a lead vocalist sings a line. and then the backup singers repeat that line? Well, that’s known as call and response… and ping pong delay works in exactly the same way!
Ping pong delay creates two channels of delay (one left and one right) and the two delay channels don’t have the same delay time. One channel may have a delay time of 100 and the other may have a delay time of 150ms! This technique is great for creating new spaces in your mix!